The beginner’s guide to good smartphone photography
Smartphones have made photography very easy and accessible today. Unlike the old times, you don’t have to lug around heavy gear to take a picture. You carry your smartphone everywhere with you and it takes seconds to whip it out and take a picture when you see something pretty or interesting. Taking photos might be easy, but taking a good photo is not. It’s not just pointing and shooting anymore. There are plenty of bad photos taken from smartphones out there, so we’re sure we don’t need to tell you the difference.
So is there a secret to taking good photos with your smartphone? Well, yes! But they’re not a secret anymore because we’re sharing them with you! Read to know more about how to improve your smartphone photography and take good photos.
#1 All about the light
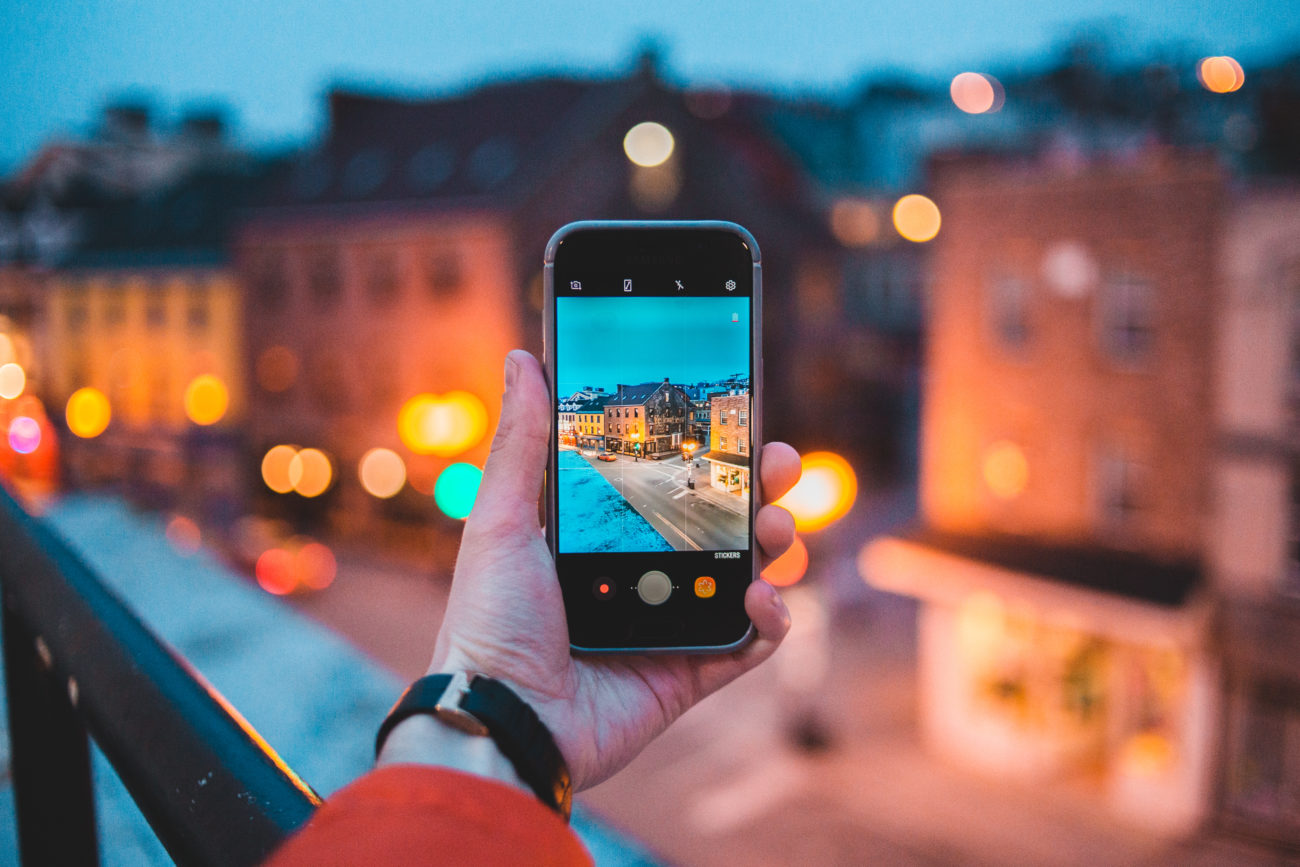
All professional photographers will tell you this – it’s all about the light. When it comes to taking good photographs everything else comes secondary. It doesn’t matter which camera or phone you’re shooting on, light makes or breaks your photo. Of course there are different kinds of light – the early morning and evening/golden hour light makes for great images. While in the night it doesn’t matter which camera you’re using, without an artificial light you will have bad/grainy/dark photos. The afternoon (approx 11am-4pm) light creates harsh shadows. So try and shoot in the time that will flatter your subject and help your image look better.
The smartphones on the higher end of the price (iPhone, Google Pixel, One Plus Pro) do perform better in low-light than lower-priced phones, but no smartphone can shoot great images at night. Even professional cameras need artificial light for shooting good images in low light. So try and shoot in good natural light as much as possible. But if you have to shoot in the dark for some reason, you will need artificial light. You might be tempted to use your phone flash in this situation but we suggest you don’t, as it creates unflattering highlights and shadows when used in low light. You can even look for ambient light sources like a lamp, traffic lights, street lights, or the torchlight on your phone. Or you can get one of those small LED lights, battery-powered fairy lights, or ring lights that you can easily carry around in your bag and use with one hand.

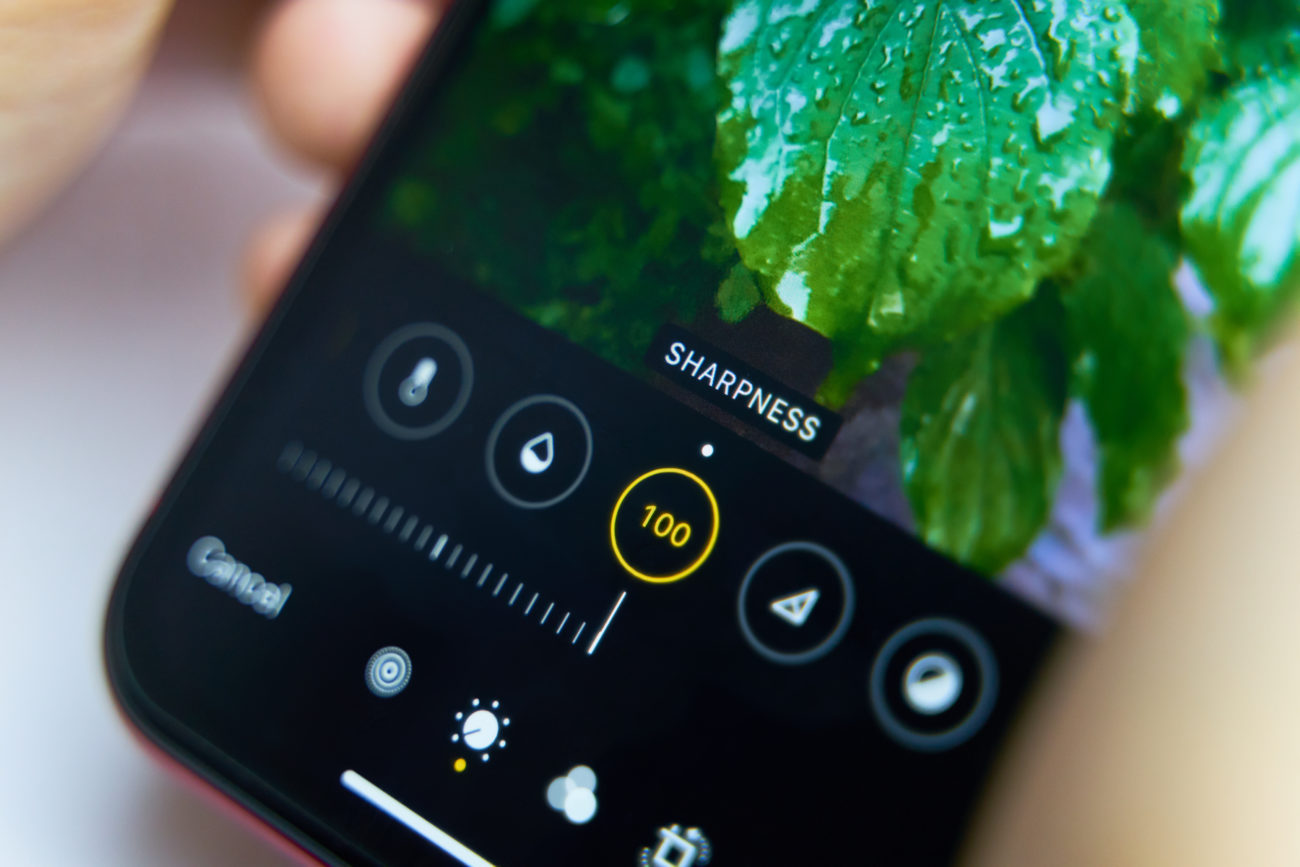
#2 Understand the manual mode on your camera
These days, smartphones have great cameras that have intuitive auto modes. But if you want more creative control over your images, learn how to manipulate the (limited) manual options your phone gives you. Most camera phones these days have a “pro-mode” where you can change the white balance, aperture, and shutter speed. Though limited, these give you some control over your images. And learning how to use them to your advantage can give your phone photography an edge.
#3 Composition
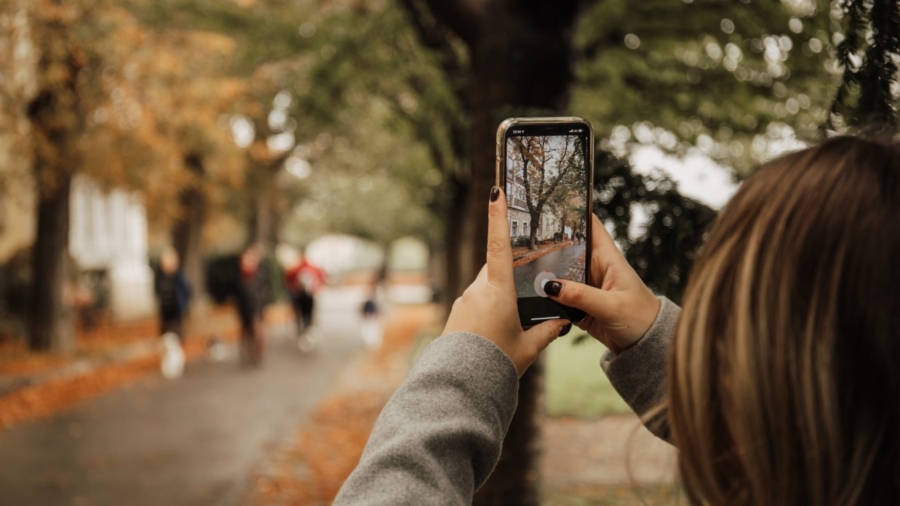
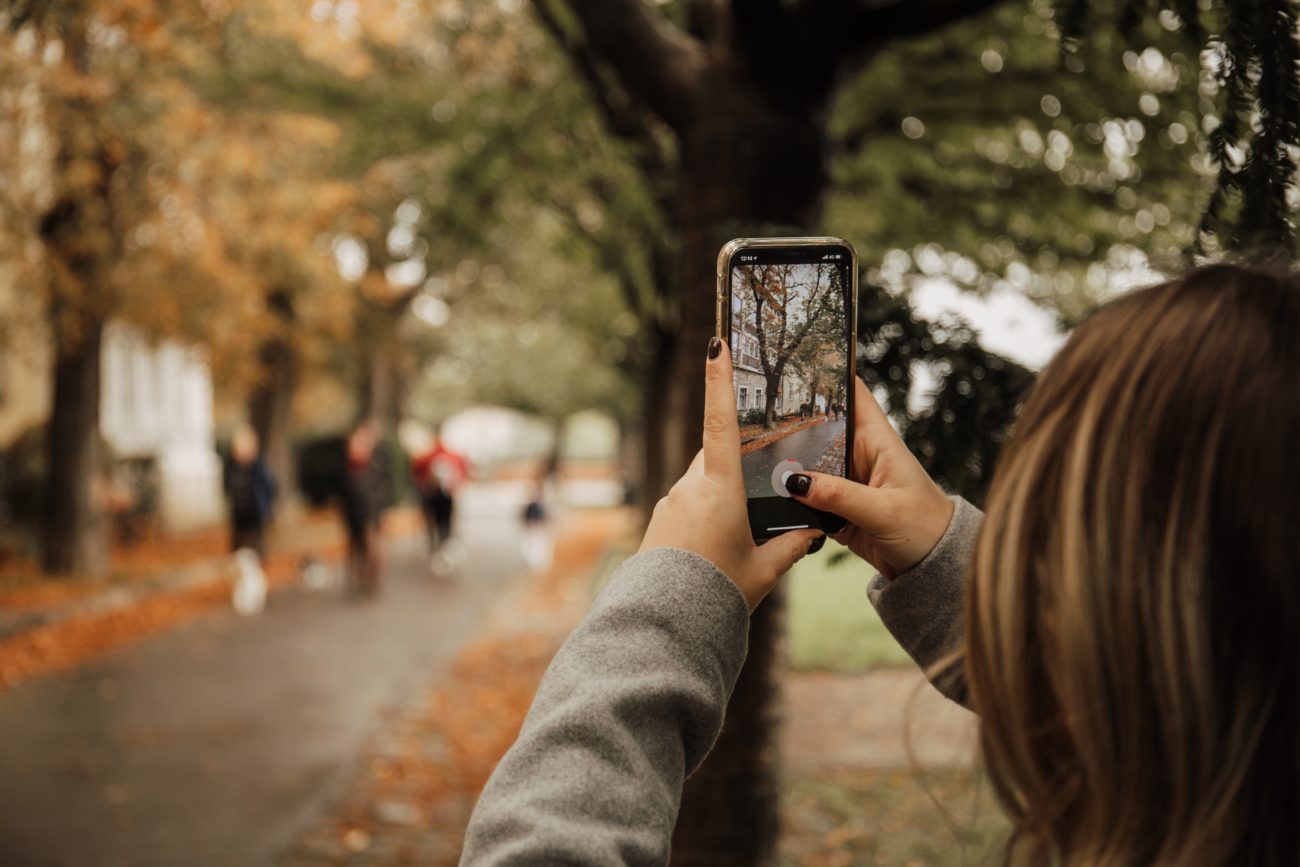
Next comes composition. After you’ve found a good light spot and set your camera settings to your choice, it’s time to figure out a composition for your image. Don’t just shoot from eye-level. Get high or go super low to shoot, fill the entire frame with your subject, or play with negative spaces to draw attention to your subject. Try to shoot things from a perspective that the human eye would not normally see. Look for reflections, mirror images, repetitive patterns, or leading lines – these draw the viewer’s eye to your image.
The best thing about shooting on a phone camera is that the lack of (total) manual control gives you the challenge to find interesting visuals. It helps you focus more on creativity and composition. And you work that much harder to make a good image and train your eye to look for interesting compositions.
#4 Invest in gear
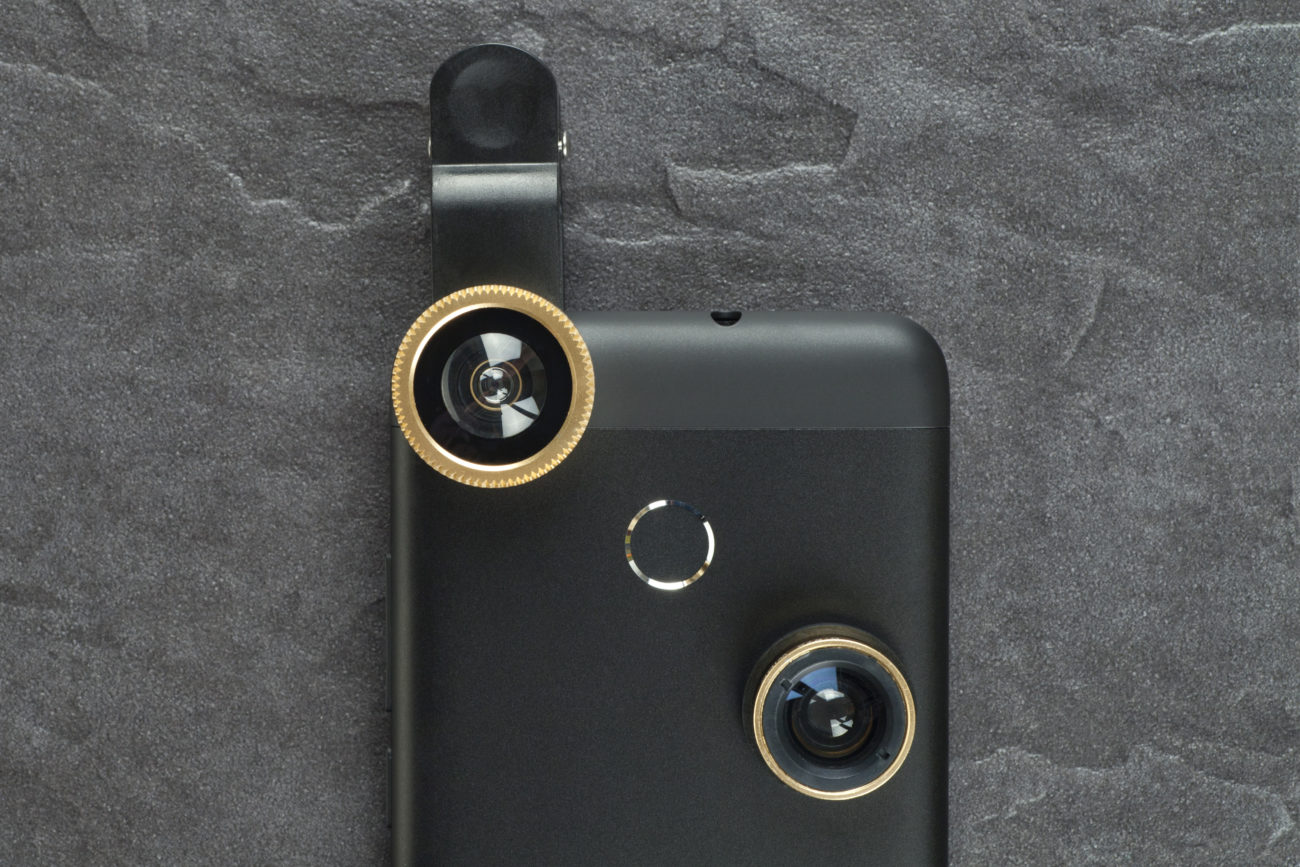
The great thing about a smartphone is that you don’t have to worry about carrying heavy gear around. So it’s easy to just take out your phone and shoot whenever you find something interesting. But it does limit you to an extent. So if you want to take your photography to the next level, you can invest in some lenses that attach easily to your smartphone. At the moment, manufacturers like Moment, Olloclip or Sandmarc make some portable easy to attach lenses for smartphones.
You can also invest in mobile tripods that are easy to carry and gives you the freedom to be hands-free. You can set up your phone on the tripod for some show shutter shots and set a timer. They can easily fit in your backpack/handbag and can bend at any angle. If you don’t want to invest or carry it around, a simple tip is to keep your phone steady against some hard surface. Or you can even rest your hand against a fixed surface to steady your shot when you press the shutter.
#5 Post-processing
This might come as a surprise, but for us post-processing comes much later in the priority list. Our goal as professional photographers is to get it right as much as possible in the camera, so that post-processing is only about enhancing. The same rule can apply to phone photography as well. Post-processing can’t create magic or make something you didn’t shoot in the first place. But still, editing a photo right is also important.
There are TONS of editing apps available on the app store and play store, so a starting point can be difficult. But the idea is to keep it simple. Apps like Lightroom mobile and Snapseed give you more options and control to enhance your image. There are other influencer-loved apps like VSCOCam and Afterlight that give you a lot of presets/filters and added effects that you can use. You can even look for paid and free presets from other photographers or create your own presets in the lightroom.
Keeping everything mentioned above in mind, don’t forget to clean your lens before you start shooting. It’s a simple tip but one we never remember to follow. Your phone is thrown around and kept on all kinds of surfaces and environments, so it’s a good idea to give the lens a wipe with a soft cloth before you shoot.
It’s also important to remember that smartphones (for now at least) cannot take the same level of pictures that a DSLR or mirrorless camera can. So don’t be discouraged if you don’t see some fancy results on your phone. But you can still end up with some amazing photos if you just pay a little attention and remember our tips. There may be a time in the future when they can compete with professional cameras. And wouldn’t that be amazing to see!?
Drop us a comment if any of our tips helped you. Or if there’s something we missed out on, let us know!
Add a Comment